Author: Maëlys McArdle

  • Arch Play

    Arch Play

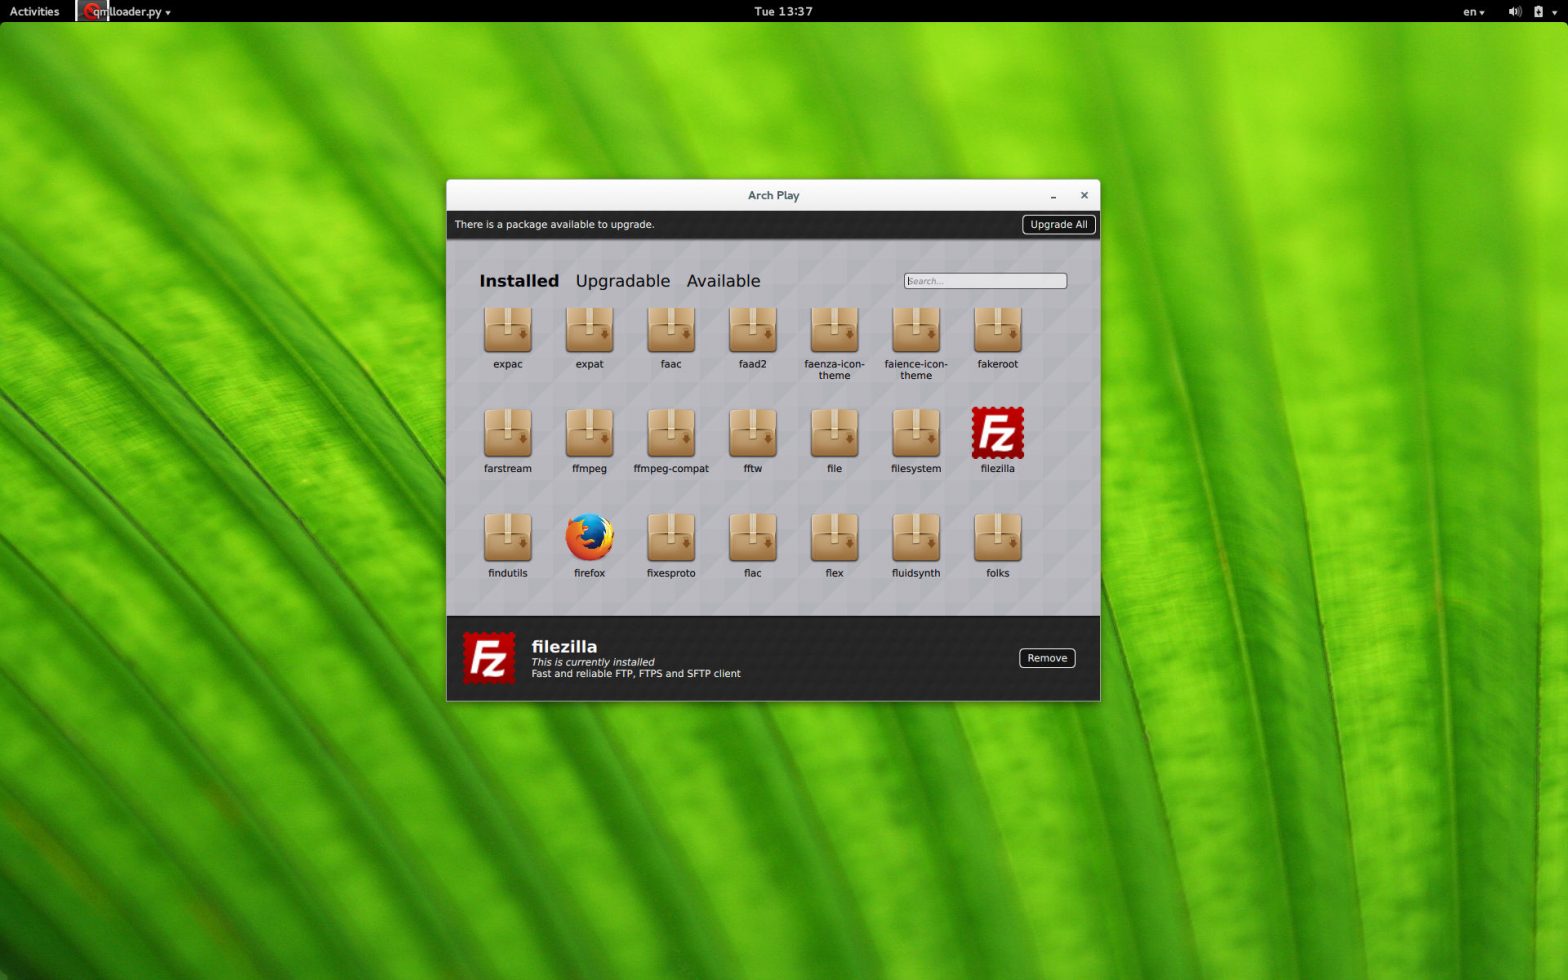
    I’ve put together a front-end for the pacman package manager on Arch Linux.

    It’ll list what packages you have installed, which ones can be upgraded, and which ones are available for download. You can then install new ones or remove them at the click of a button. Upgrades and syncs are also a mouse click away.

    Screenshot from 2013-11-19 13:37:56

    The idea was to provide a simple and accessible interface “that my mom could use.”

    I coded this up using Python and QML. There are still some issues around flickering, the initial load times can be off-putting as it parses through all of the locally installed packages on start, it has hard-coded paths for looking up the locally installed icons, there’s a fair amount of technical debt, and it doesn’t look at the AUR at all. These are all things for which there are solutions, with more work.

    To install, first download the PKGBUILD file from the source code here. From the directory in which you downloaded the PKGBUILD file, run the following commands:

    makepkg

    sudo pacman -U archplay*.xz

    To run the program after installation, invoke the following command from the terminal emulator:

    archplay

    Again, all source code is available here.

  • Ottawa Curdwich, Take One

    Ottawa Curdwich, Take One

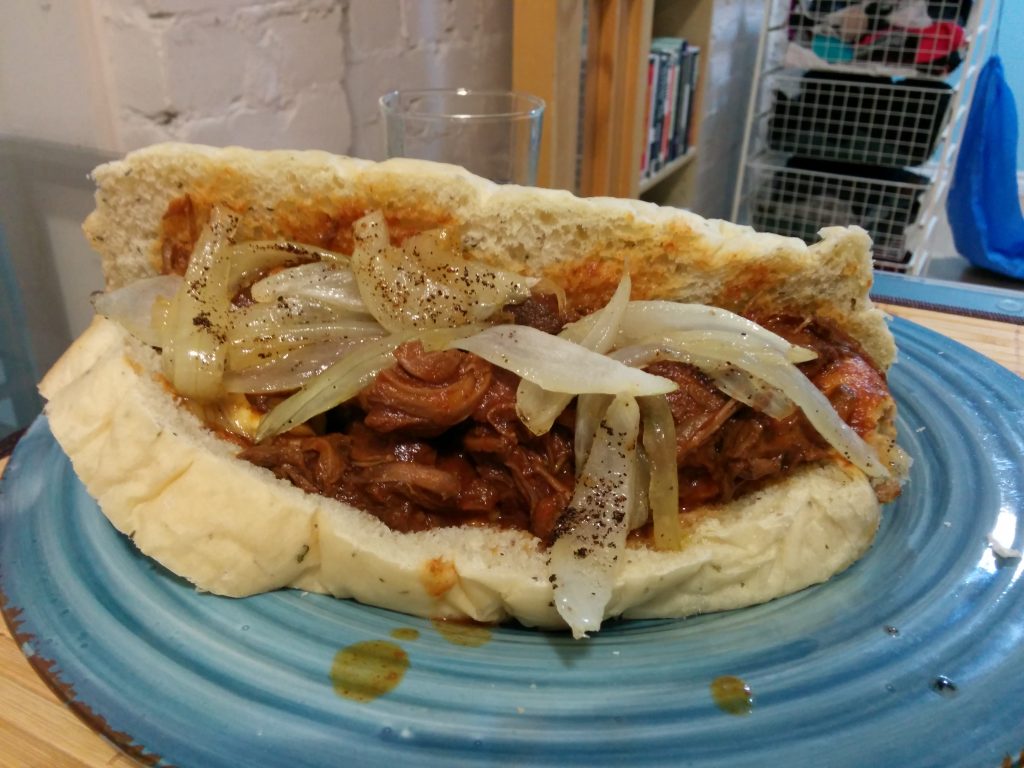
    On the trip home from the US with Jon, the two of us talked about Philly Cheesesteaks. If Ottawa had a sandwich named after it, what would it be like? We started coming up with ideas. Shredded beef. Cheese curds in the tradition of poutine. Caramelized onions. Maple syrup.

    I made the sandwich this weekend.

    Curdwich Filling (Original)

    • 2 lb, Beef Sirloin
    • 1/2 Tsp Salt
    • 1/4 Tsp Pepper
    • 1 Tbsp Oil
    • 2 Cup Tomato Sauce
    • 1 Medium Onion, Chopped
    • 1/3 Cup Brown Sugar
    • 3 Tbsp Maple Worcestershire Sauce
    • 2 Tbsp Lemon Juice
    • 2 Tbsp Wine Vinegar
    • 2 Tbsp Mustard Sauce
    • 2 Tsp Chili Powder
    1. Mix all of the ingredients except for the beef in a slow cooker.
    2. Place the beef. Set on high for 5 hours. When ready, the beef will just pull apart on prodding.

    Preparation

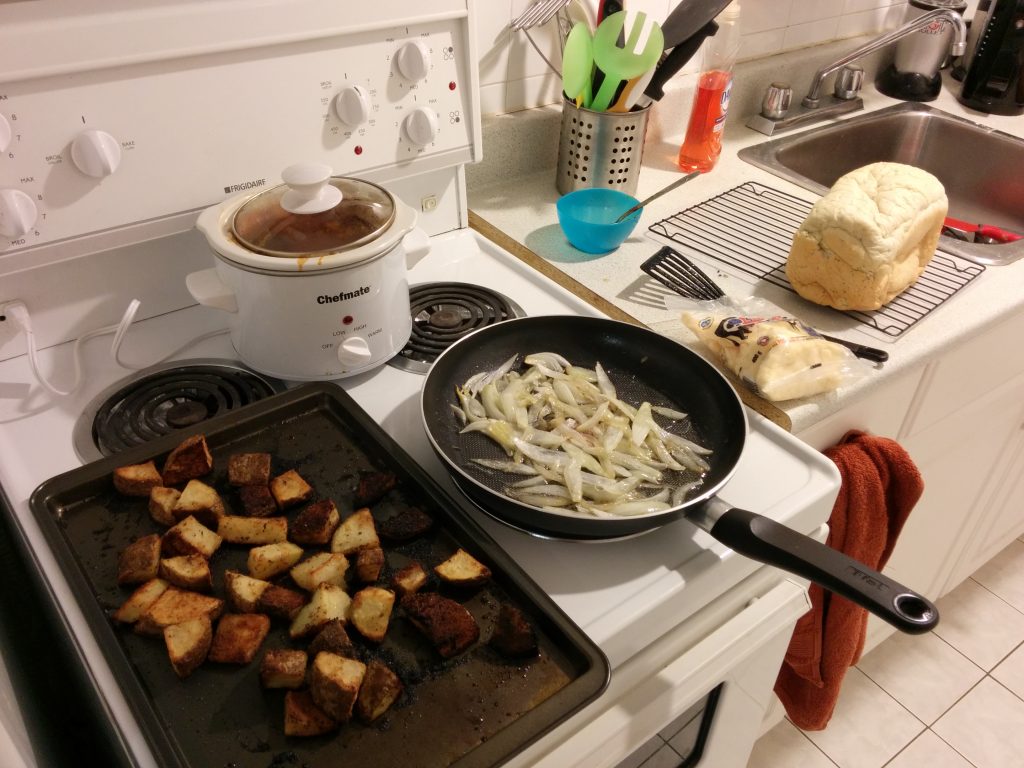
    You need to set aside about six hours for this. I first got the slow-cooker up and running, then I made the bread. An hour before serving, I started on the sides of roasted garlic potatoes and the caramelized onions.

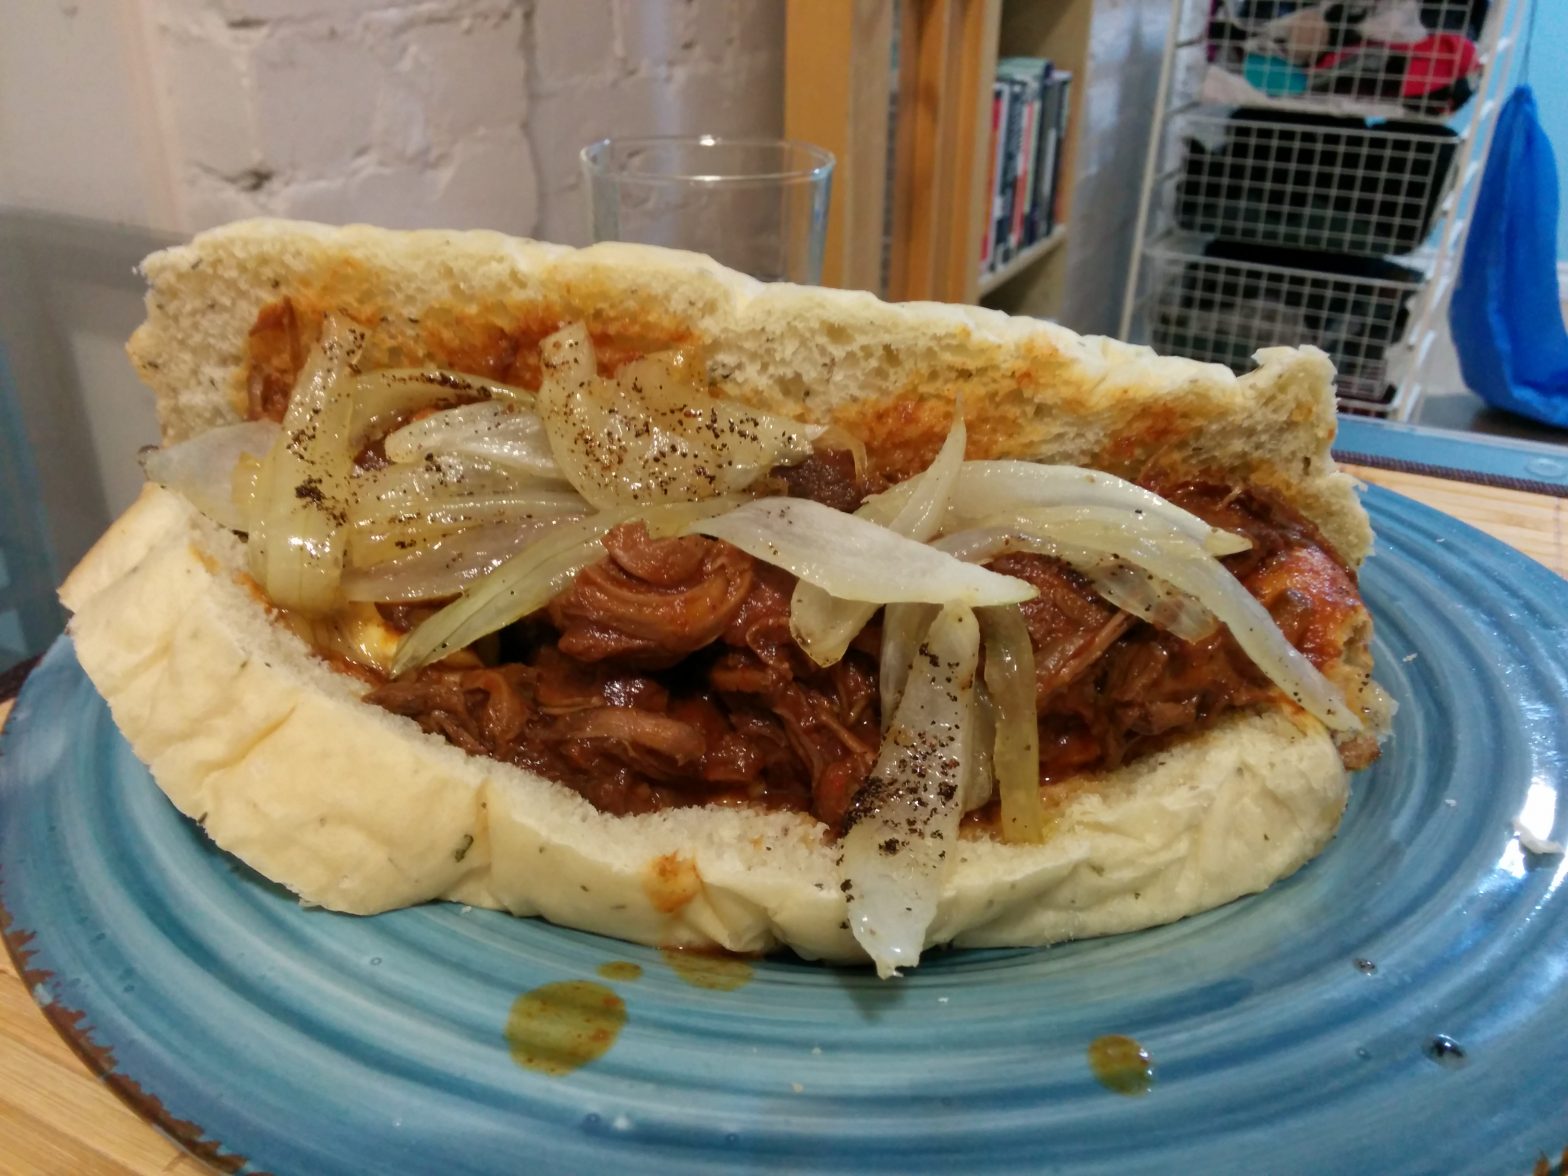
    When it got to serving time, we placed the curds first in the bread. Then we laid on the filling, and covered it with the caramelized onions.

    IMG_20131117_180142

    IMG_20131117_180923

    Thoughts

    I made my go-to bread loaf these days (3 cups flour, 2.5 tsp yeast, 1 tbsp sugar, 1 tsp salt, 1/3 cup oil, 1 cup water, Italian seasoning), and cut it up to make two long buns. The bread proved too soft to handle the juicy filling. So the first change would be to find stronger bread – perhaps a loaf of French bread.

    The maple flavour didn’t come up at all, so Jon suggested basting the beef in a maple BBQ sauce.  He also suggested less sauce. Otherwise, it was delicious. This recipe is open to tweaking, thus why it’s called “take one.”


  • Vegan Sloppy Joe’s, Oreo Cheesecakes, and Hot Chocolate

    Vegan Sloppy Joe’s, Oreo Cheesecakes, and Hot Chocolate

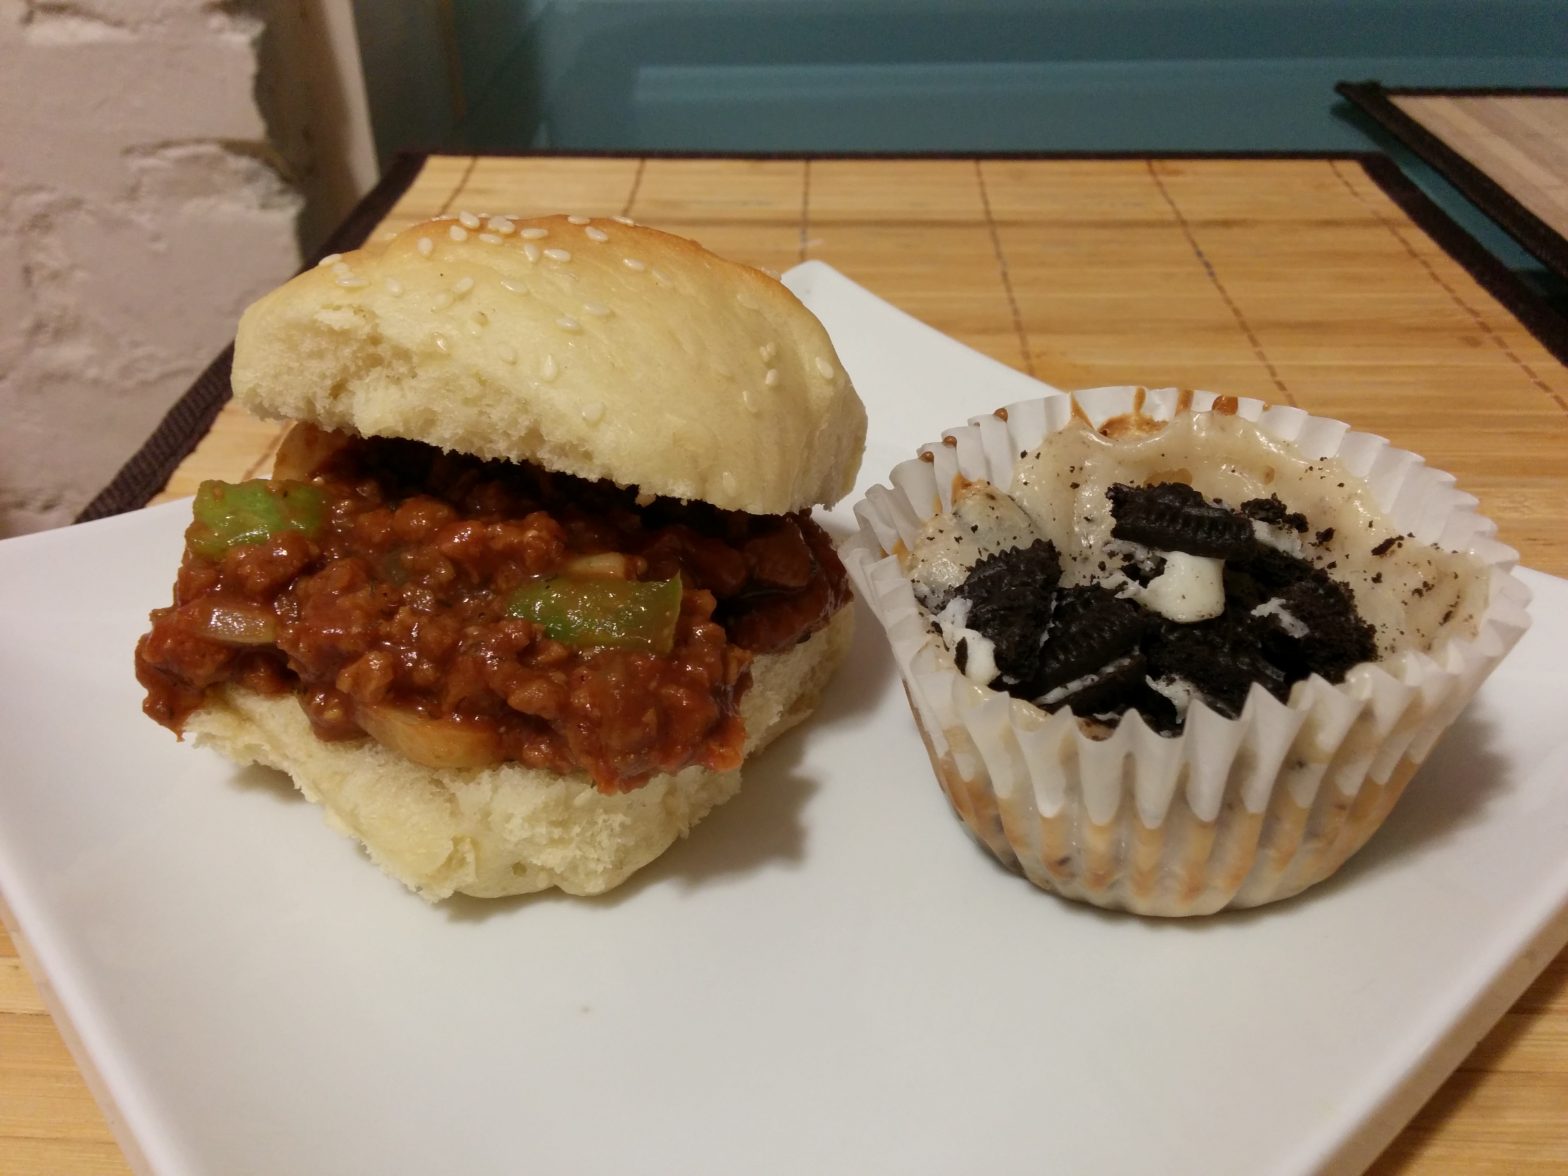
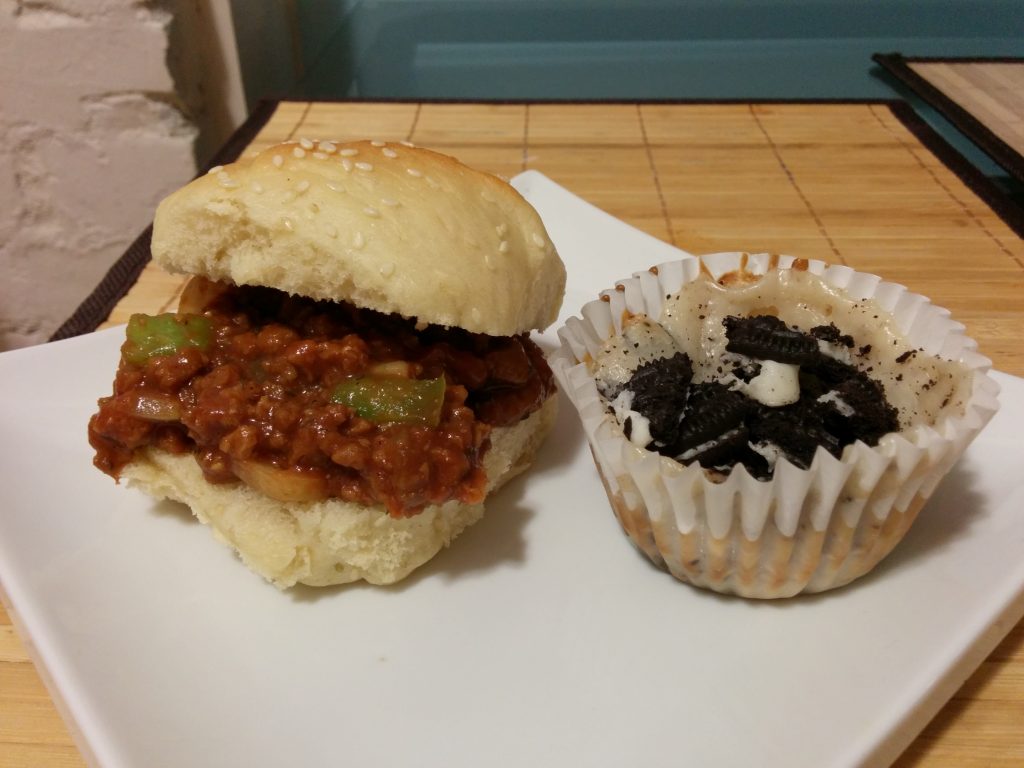
    Sloppy Joe’s

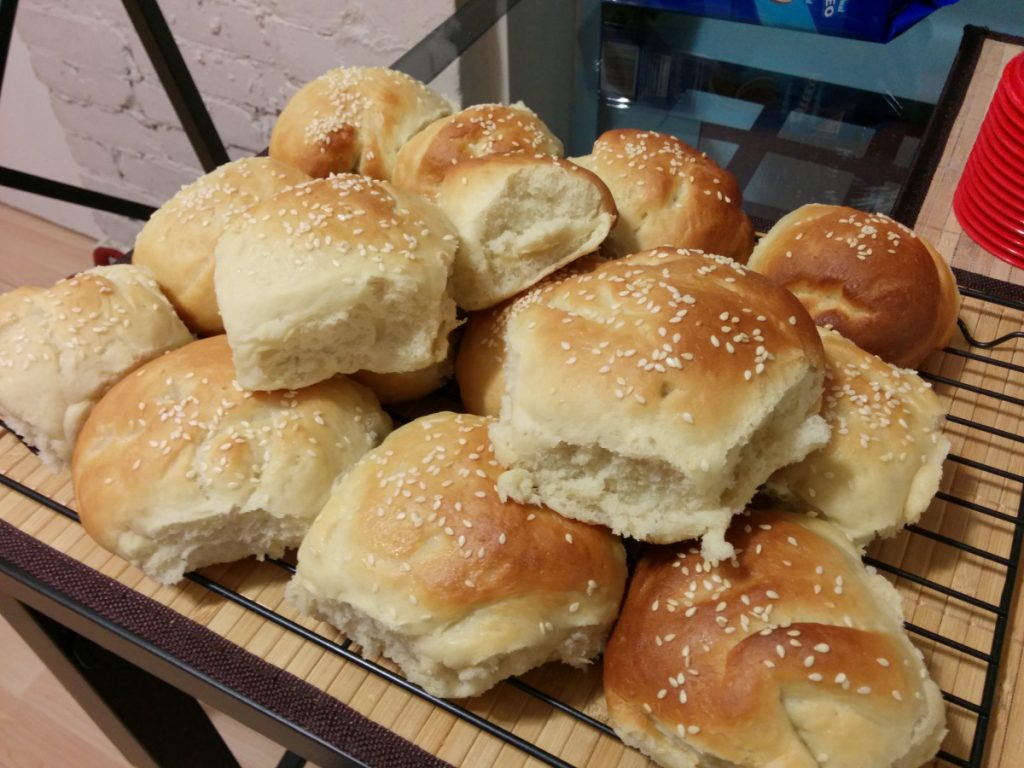
    Hamburger Buns (Original)

    Makes 12-18 buns.

    • 1 Cup Warm Vegan Milk (eg. Almond Milk)
    • 1 Cup Warm Water
    • 2 Tbsp Sugar
    • 2 1/2 Tsp Yeast
    • 5 Cups Flour
    • 1 1/2 Tsp Salt
    • 1 Tbsp Vegan Milk
    • 1 Tbsp Water
    • Sesame Seeds (do not skip!)
    1. In a large bowl, combine milk, water, sugar and yeast. Mix around and let sit for 5 minutes.
    2. In a separate bowl, combine flour and salt.
    3. Add the flour to the liquid, half a cup at a time.
    4. Knead the dough until elastic. Coat the sides of the bowl in oil.
    5. Cover the bowl and let the dough rise in a warm place until doubled in size. About 1 hour.
    6. Punch down the dough and divide up into 12 – 18 buns. Knead each until dry and place on a cookie sheet. Let rest for 5 minutes.
    7. Flatten the buns slightly. Cover the buns and let rest for another 20 minutes or until doubled in size.
    8. Preheat the oven to 400 F.
    9. Whisk together milk and water. Brush mixture on each bun, then sprinkle sesame seeds.
    10. Bake in the oven’s centre rack for 15 minutes or until golden brown.
    11. Let cool on a cooling rack.

    IMG_20131116_160230

    Filling (Original)

    Enough filling for 12-18 buns.

    • 1 Tbsp Oil
    • 1 1/4 Pound Ground Textured Vegetable Protein
    • 1/4 Cup Brown Sugar
    • 1 Tbsp Steak Seasoning Blend
    • 1 Medium Onion, Chopped
    • 1 Small Bell Pepper, Chopped
    • 1 Tbsp Wine Vinegar
    • 1 Tbsp Worcestershire Sauce
    • 2 Cups Tomato Sauce
    • 2 Tbsp Tomato Paste
    1. In a large pot on medium-high heat, add oil and TVP.
    2. Break up the TVP.
    3. Mix brown sugar and steak seasoning. Add to TVP mixture and combine.
    4. When the TVP has browned, add the onion and bell pepper.
    5. Reduce heat to medium and add wine vinegar and Worcestershire sauce. Let heat for 5 minutes.
    6. Add tomato sauce and paste. Stir and reduce heat to a simmer. Let sit for another 5 minutes.
    7. It’s ready to serve! If I wasn’t serving immediately, I left mine on low heat and added a bit of tomato sauce if it lost a bit of moisture.

    IMG_20131116_170255

    Thoughts

    This was my first time having Sloppy Joe’s, and I found that the filling tasted amazing. The hamburger buns I made were a bit on the dense side, but quite good. The sesame seeds really imparted their flavour. I’ll be very pleased if I could make the buns fluffier. Perhaps I’ll try this bun recipe next time. Filling though? Awesome.

    Oreo Cheesecakes

    Makes 12 muffin-sized cheesecakes.

    • 22 Oreo Cookies
    • 2 Packages of Vegan Cream Cheese (eg. Tofutti)
    • 2/3 Cup Sugar
    • 1/4 Cup Water
    • 1 Tbsp Lemon Juice
    • 1 Tsp Vanilla
    • 1/2 Tsp Salt
    1. Set the oven to 350 F.
    2. Line muffin tin with paper liners.
    3. Put an Oreo on the bottom of each.
    4. Blend cream cheese and sugar until softened.
    5. Add water, lemon juice, vanilla, and salt to cream cheese mix. Combine well.
    6. Break up 4 Oreos into crumbs and place in mixture. Fold them in.
    7. Add mix to the paper liners.
    8. Bake for 25 minutes.
    9. Let cool, then refrigerate for at least four hours. You’ll find that the centre sinks inwards as it cools.
    10. When ready to serve, crumb up 6 Oreo cookies and garnish the top of the cheesecakes with them.

    Thoughts

    Underwhelming. This was a hybrid of my previous vegan cheesecake recipe and a bite-sized Oreo one I spotted online. I liked the Oreo cookie base and how crumbs were folded in. However, the cheesecake part was gummy tasting and really not all that savoury. Going forward, I think I’ll try a different recipe.

    Hot Chocolate

    Multiply the portions by the servings desired.

    • 1 Cup of Vegan Milk (eg. Almond Milk)
    • 1 Tbsp Sugar
    • 1 Tbsp Cocoa Powder
    1. Whisk all ingredients in a sauce pan and bring to a simmer.
    2. Serve!

    Thoughts

    Simple and delicious.

  • Open-Source Software

    Open-Source Software

    When I was in university, I pirated loads of stuff.

    I loved being creative and using my computer to that end. The problem was that good software to enable this creativity was not accessible. If I wanted to play with photos and imagery, that was $700 for Photoshop. If I wanted to do 3D animations, that was $3,000. Heck even editing documents meant splurging $300 on Microsoft Office.

    I was making $1,000 a month while paying for my own rent and tuition. I had no moral qualms about illicitly installing software under those circumstances. In the absence of unauthorized copies, I would not have used this software at all – and that would have signified a net reduction in the kind of creative output I desired.

    However, it’s also through that period that I saw the open-source movement make great gains. The principles of this movement was as old as software itself, and it involved putting the code for your software out there for all to see.

    It allowed for communities to form and work together to improve the code. That’s an incredible idea to me – digital sculptors from around the world all coming together to make beautiful statues. The strengths of each levied against the skills of others.

    More people got into the fold, and with it a greater diversity in the type of software available. The private sector pumped developers in to contribute, to their financial benefit – but never at the cost of closing off access to that software. There were more people than ever before doing it in their spare time too, out of the spirit of community.

    Today, the landscape is entirely different than my university days. Software has become far more accessible. You don’t need to spend $700 on Photoshop anymore. Gimp is an open-source project that’s free and an excellent replacement.

    Screenshot from 2013-11-11 11:26:07

    You also don’t need to break the bank for a decent word processor or spreadsheet. LibreOffice does everything you could do in Microsoft Office, for the wonderful price tag of $0.

    Screenshot from 2013-11-11 11:28:12

    You can watch movies (VLC), listen to music (Foobar, Audacious), or surf the web (Firefox, Chrome).

    Screenshot from 2013-11-11 11:41:39

    There is open-source software to edit videos, to make 3D animations, etc. What’s also cool is that  you can get all of these things in languages other than English as well. There are of course open-source alternatives to Windows and OS X, like Linux.

    Screenshot from 2013-11-11 11:53:06

    Screenshot from 2013-11-11 11:53:45

    Screenshot from 2013-11-11 11:54:23

    You deal with open-source software every day. The server feeding you this website is using open-source source software to render and deliver the text you’re reading. If your phone is running Android, that’s open-source. Ever used Firefox or Chrome? Open-source.

    This community has given me so much, and I try to do my own minuscule part to give back. I’ve made a utility to make encryption simple, a tool to compare files visually, and these days I’m working on this thing to make installing software more beginner-friendly.

    Screenshot from 2013-11-11 14:10:52

    That’s not to say that there is no room for proprietary software, or that there is a viable free alternative to everything. There will always be a space for the former, and the latter is growing ever richer.

    What I like though is that this community born out of hacker culture is enabling this tool with unlimited potential to be accessible to more and more people. Combine that with the downward pressure on hardware prices, and I see a very exciting time ahead.

  • Light Coffee Cake (Vegan)

    Light Coffee Cake (Vegan)

    This recipe is adapted from one I saw on The Sioux Chef.

    Dough

    • 2 Cups Flour
    • 2 Tbsp Sugar
    • 1 Tbsp Baking Powder
    • 1 Tsp Salt
    • 2½ Tsp Yeast
    • ⅔ Cup Vegan Milk (eg. Almond Milk)
    • ½ Cup Vegan Butter (eg. Earth Balance)
    1. Grease a 9″ cake pan.
    2. Combine dry ingredients in a bowl.
    3. Heat the milk and butter in a sauce pan until it reaches 110 F.
    4. Add wet ingredients to the dry mix.
    5. Combine and place into the cake pan. Press down with your fingers.
    6. Cover with plastic wrap and towel.

    Topping

    • ½ Cup Flour
    • ⅓ Cup Sugar
    • 1 Tsp Cinnamon
    • ¼ Cup Vegan Butter
    • Pinch Salt
    • Maple Syrup
    1. Preheat oven to 375 F.
    2. Combine all ingredients except the maple syrup until crumbly.
    3. Unwrap the dough and drizzle maple syrup on top. Spread it out.
    4. Add crumbly topping.
    5. Place in oven for 15 minutes.

    IMG_20131109_155318


    Thoughts

    I liked it. I used a gluten-free flour mix for the topping (the original recipe is all gluten-free), which gave it its distinctive taste. It’s lighter than the other desserts I’ve made recently, which I appreciate. It’s quick to make, doesn’t feel heavy in the stomach, the ingredients are those I usually have on-hand, so I can see me making this again.